 Ferndale Siding
 Building New in Cordata? The Windows Are Where the Job Gets Won or Lost
New construction gives you one real chance to get windows right. Once the siding, trim, and interior finish go on, a poorly flashed window opening turns into a hidden problem that doesn't show up until years later — usually as a stain on drywall, soft trim, or a musty smell in a wall cavity. For homes going up in and around Cordata, near Ferndale in Whatcom County, that first-chance install matters more than in drier parts of the country. Our marine climate doesn't forgive shortcuts at the rough opening.
This page covers what we actually do when we install windows on new-construction homes in the Cordata area — not a generic overview, but the specifics of the flashing sequence, product choices, and coordination with builders that make the difference between a window that performs for decades and one that starts failing quietly within five years.
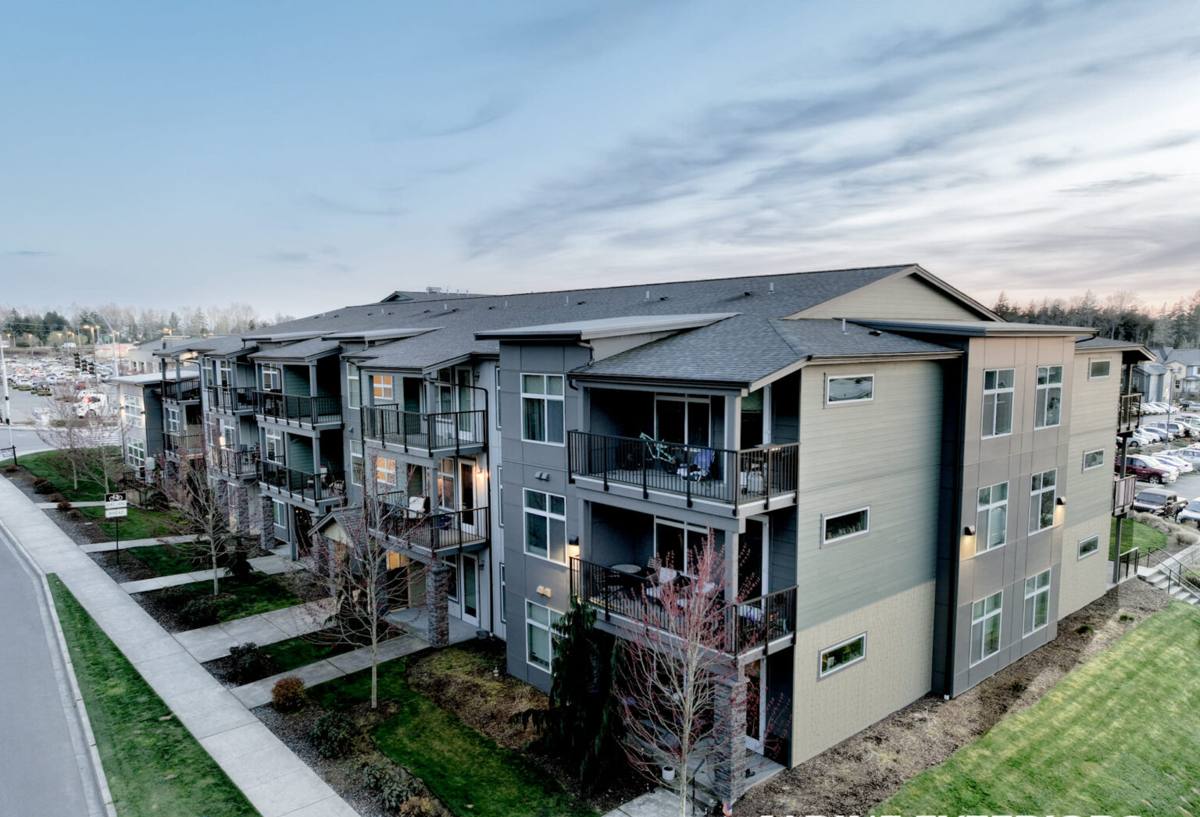
What Whatcom County's Climate Does to a New Window Opening
Cordata sits close enough to the water and to Whatcom County's marine weather pattern that homes here deal with a specific combination of stresses most inland builders never have to design around.
- Salt-influenced air: Proximity to Puget Sound and Bellingham Bay means metal components — flashing, fasteners, window hardware — corrode faster than they would in a dry inland climate. Cheap or mismatched metals fail early.
- Driving, wind-driven rain: Storms here don't just fall straight down. Wind pushes rain sideways into wall assemblies, which means a window's water management can't rely on gravity alone — it needs proper shingle-lap flashing and a functioning drainage plane behind the siding.
- A long moss and damp season: Extended stretches of overcast, moist weather keep exterior surfaces wet longer than they'd stay wet elsewhere. Any spot where water can get behind a window flange and not dry out becomes a rot risk over time.
None of this is exotic — it's just what Whatcom County weather does, year after year, to any gap in the building envelope. New construction is the cheapest and easiest point to build in the right defenses, because the wall is open and everything is accessible.
New Construction vs. Replacement — Why the Install Method Is Different
A lot of homeowners assume "installing a window" is the same job whether it's a brand-new house or a 20-year-old one. It isn't. Replacement work usually has to fit inside an existing, finished wall. New construction lets us install the window as a fully integrated part of the wall assembly, which is the correct way to do it — but only if every layer goes on in the right order.
The Nail-Fin and Flashing Sequence
Most new-construction windows in this region use a nail-fin (flange) frame that gets fastened directly to the sheathing. The sequence around that flange is what actually keeps water out:
- Weather-resistive barrier (house wrap) installed and lapped correctly before the window goes in.
- Sill pan flashing set at the rough opening to catch and direct any water that gets past the window back outward, not into the wall.
- Window set, leveled, and fastened per the manufacturer's schedule — not just "enough screws to hold it."
- Jamb flashing up both sides, then head flashing across the top, each piece lapping over the one below it — never the reverse.
- House wrap integrated back over the flanges so the whole assembly drains as one continuous plane, with a drip cap or head flashing directing water past the window rather than pooling above it.
Skip or reverse any one of those steps and the window can look perfect from the outside while quietly funneling water into the wall cavity every time it rains sideways.
Rough Opening Tolerances
New-construction windows need a rough opening that's neither too tight nor too loose — typically a consistent gap around the frame for shimming and expansion. Too tight and the frame can bow, affecting how the sash operates. Too loose and there's not enough surface for flashing tape to seal reliably. We check opening dimensions against the actual window schedule before install day, not after the window shows up and doesn't fit.
What a Correct New-Construction Window Install Involves
Here's the practical checklist we run through on every opening, whether it's one window or a full house package:
- Verify rough opening size, plumb, level, and square before the window arrives on site
- Confirm sill pan flashing is installed and sloped to drain outward
- Set window per manufacturer fastening schedule (not a generalized "a few screws" approach)
- Shim correctly to keep the frame square without distorting it
- Apply jamb and head flashing in correct shingle-lap order
- Integrate house wrap back over the flanges as a continuous drainage plane
- Seal interior air gaps with low-expansion foam or backer rod, not just caulk
- Test operation (sliders, casements, or double-hungs) before trim goes on, while the opening is still accessible
- Photograph flashing details before they're covered — useful documentation for the builder and homeowner
Window Types and Materials — What to Weigh for a New Build
New construction is also the moment to choose the right window product for a wet, salt-air climate. We install and stand behind several material categories, each with real trade-offs rather than a single "best" answer.
| Material | Moisture & Salt-Air Behavior | Maintenance | Typical Cost Position |
|---|---|---|---|
| Vinyl | Won't rot or corrode; performs well in coastal-influenced air | Low — occasional cleaning | Most economical |
| Fiberglass | Very stable dimensionally; excellent moisture and salt resistance | Low | Mid to upper range |
| Wood-clad | Attractive interior wood look, but cladding seams and end grain need careful detailing in wet climates | Higher — finish and seal upkeep | Upper range |
| Aluminum | Strong but conducts cold and can corrode near salt air without quality coatings | Moderate | Varies by grade |
We're candid with builders and homeowners about which product fits a given exposure. A window on a wall that takes direct, driving rain off the water needs different flashing detail and sometimes a different material grade than a sheltered wall on the same house. This is a design conversation worth having before the windows are ordered, not after they're on site.
Cost Factors Beyond the Window Itself
The unit price on a window quote is only part of the real cost. Other factors that move the total on a new-construction job:
- Number of window openings and how many wall elevations they're spread across
- Whether openings are standard sizes or custom/oversized units
- Flashing and drainage plane detail required for exposed vs. sheltered walls
- Access — second-story or hard-to-reach openings take longer to flash correctly
- Coordination timing with the framer, siding crew, and house-wrap installer
How Our Process Works on a Cordata-Area New Build
We work directly with builders and general contractors, which means our schedule has to fit into theirs without becoming the bottleneck. On a typical job:
- Plan review: We go over the window schedule and elevations before ordering, flagging any opening that needs special flashing attention given its wall exposure.
- Site walk: We confirm rough openings are framed correctly and house wrap is ready before we schedule install day.
- Install: Windows go in following the sequence above, opening by opening, with flashing photographed as we go.
- Walkthrough: We test operation, check seals, and hand off documentation before trim and siding close things in.
Because we work regularly in the Cordata area and around Ferndale, we already know the general exposure patterns different lots see — which elevations tend to take the worst of the driving rain, and where moss and damp buildup are more persistent through the wet months. That local pattern knowledge shapes small decisions, like where extra flashing attention is worth the time, that a crew unfamiliar with the area might not think to prioritize.
Common Mistakes We Catch on New Builds
We're regularly called in to review or correct work on homes where the windows were installed quickly to keep a schedule moving. The recurring issues we see:
- Flashing tape applied in the wrong order (head flashing under jamb flashing instead of over it)
- No sill pan, or a sill pan that isn't sloped to drain outward
- House wrap cut and taped around the window instead of properly lapped and integrated
- Fasteners skipped at corners or mid-span, leaving the frame under-secured
- Interior gaps sealed with caulk alone instead of proper backer rod and low-expansion foam
Every one of these is invisible once trim and siding go on — which is exactly why it matters to get it right the first time, while the opening is still open for inspection.
Why Hire a Crew That Already Works in Cordata
Window flashing isn't a one-size-fits-all detail — it changes with wall exposure, siding type, and how a specific lot sits relative to prevailing wind and rain direction. A crew that regularly works new construction around Ferndale and Whatcom County has already seen how local conditions play out over a few wet seasons, not just on install day. That means fewer surprises for the builder's schedule and fewer callbacks for the homeowner once the house is finished and lived in.
If you're a builder, general contractor, or homeowner working on new construction in the Cordata area, we'd be glad to walk the plans or the site with you and put together a straightforward, no-pressure estimate — no inflated claims, just what the job actually needs.