 Ferndale Siding
 New-Construction Windows in Marietta: A Different Job Than a Replacement
When a house is going up in Marietta, the windows aren't dropped into an existing opening — they're built into the wall as part of the framing and weather barrier system. That's the core difference between a new-construction window and a replacement window, and it matters a lot more than most homeowners realize. A new-construction window has a nailing fin around its perimeter that gets integrated directly with the house wrap and flashing before the siding ever goes on. Get that sequence wrong, and the mistake gets buried behind trim and cladding for the life of the house.
We work new-construction window jobs specifically in the Marietta area, which sits close to the water just outside Ferndale in Whatcom County. That location shapes almost every decision we make on a rough opening — from how we lap the flashing to which frame materials we recommend.
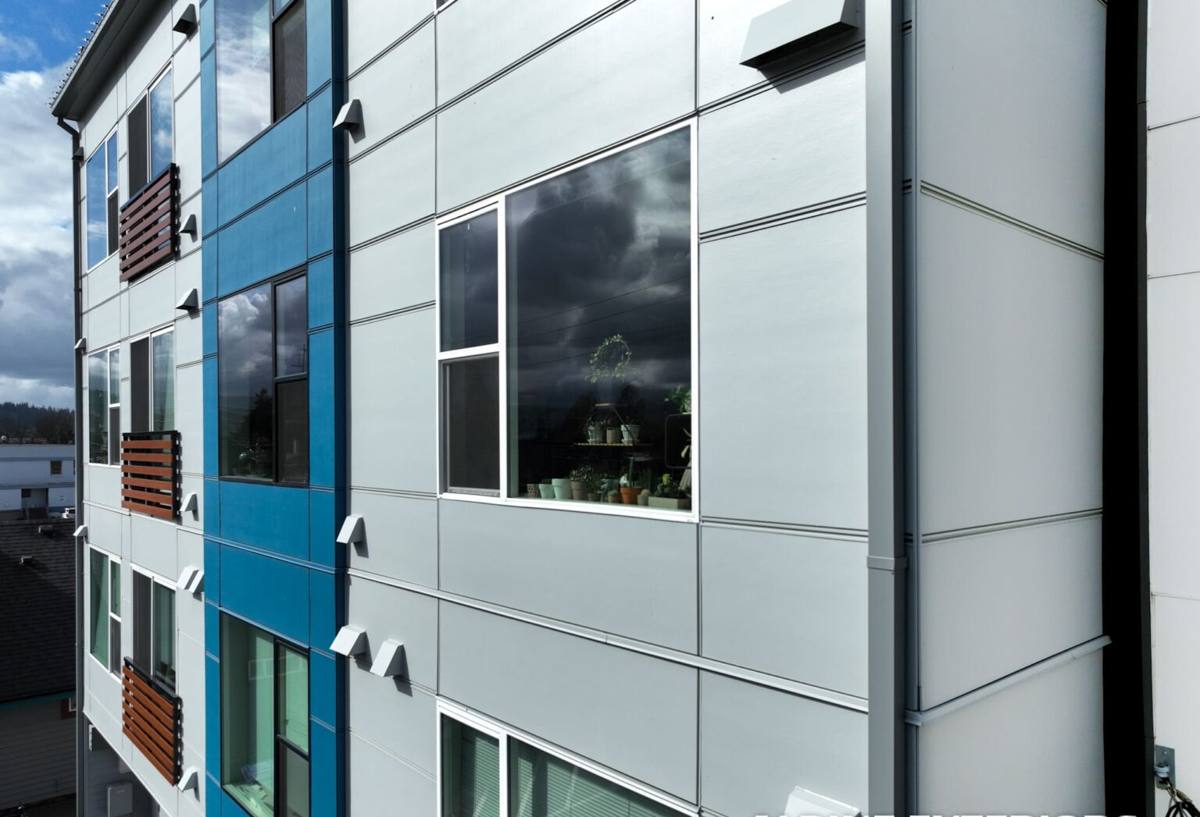
Why Marietta's Climate Changes the Details at Every Rough Opening
Marietta gets a combination of conditions that a lot of window crews from drier inland areas simply don't plan for. Salt-tinged air off the water accelerates corrosion on exposed fasteners and hardware over time. Wind-driven rain off the bay pushes water sideways into wall assemblies, not just straight down — which means flashing details that would pass in a sheltered inland lot can fail here. And Whatcom County's long, wet moss season keeps siding, trim, and window sills damp for months at a stretch, which is exactly the environment that punishes a sloppy sill pan or a missed bead of sealant.
None of this means new-construction windows in Marietta need to be exotic or expensive. It means the ordinary steps — sill pan flashing, WRB integration, corrosion-resistant fasteners — have to actually be done right, every time, because the climate here doesn't forgive shortcuts the way a drier region might.
What "Driving Rain" Really Means for a Window Opening
Wind-driven rain doesn't just hit the glass — it finds any gap at the jamb, head, or sill and pushes water in under pressure. A correctly installed new-construction window sheds that water back out before it ever reaches the framing, using a layered flashing system rather than caulk alone. Caulk is a backup, not a strategy.
What a Correct New-Construction Window Installation Involves
A rough opening for a new-construction window isn't just "frame it, set it, nail it." Done properly, the sequence looks like this:
- The rough opening is checked for square, level, and correct sizing before the window ever arrives on site.
- A sloped sill pan flashing is installed at the bottom of the opening so any water that gets past the window drains back outside instead of pooling on the framing.
- Flashing tape or building paper is applied at the jambs in a shingle-lap pattern — meaning each layer overlaps the one below it, so water always runs down and out, never up and in.
- The window is set, shimmed plumb, level, and square, then fastened through the nailing fin per the manufacturer's schedule.
- Head flashing is installed last, lapped over the water-resistive barrier above the window so water draining down the wall sheds over the top of the window, not behind it.
- The interior is air-sealed with low-expansion foam or backer rod, and the exterior perimeter gets sealant only where the manufacturer's instructions call for it.
Every one of those steps needs to be inspectable before the siding crew closes the wall up. That's the single biggest reason new-construction window work goes wrong on jobsites — the flashing gets covered before anyone checks it.
Choosing the Right Window for a Marietta Build
Frame material matters more in a marine climate than it does further inland. We'll talk through the trade-offs with you and your builder, but here's the honest comparison we work from:
| Frame Material | Moisture / Salt Air Behavior | Maintenance | General Cost Tier |
|---|---|---|---|
| Vinyl | Won't corrode or rot; performs well near the water | Low — occasional cleaning | Economical |
| Fiberglass | Very stable in wet, salt-exposed conditions; resists warping | Low | Mid to upper |
| Wood-clad | Good if the cladding and seals stay intact, but exposed end grain is a risk point in a wet climate | Higher — finish and seals need attention | Upper |
| Aluminum | Prone to corrosion in salt air unless specifically coated and detailed for coastal use | Moderate to high | Mid |
We're not going to tell you one material is "the best" for every job — the right choice depends on your budget, your builder's plans, and how exposed the elevation is to weather off the water. What we will tell you is that in Marietta specifically, we lean toward vinyl and fiberglass for most builds because they hold up with the least ongoing maintenance in salt air and driving rain, and we'll be straightforward if a design calls for wood-clad about what upkeep that choice will require.
Our Process, Start to Finish
1. Plan Review Before Framing Locks In
We look at the architectural plans early — window sizes, rough opening dimensions, and how the elevations face prevailing wind and rain. Catching a sizing or clearance issue on paper is a lot cheaper than catching it after the walls are up.
2. Product Selection
We'll walk you and your builder through frame material, glazing package, and energy performance options suited to a Marietta lot, without pushing you toward the most expensive option by default.
3. Scheduling With the Framing and Dry-In Crew
New-construction window installs have to land at exactly the right point in the build — after framing and house wrap, before siding. We coordinate directly with your builder's schedule so the openings are ready and dry when we show up.
4. Installation and Flashing
We install and flash every opening to the sequence described above, using fasteners and flashing tapes rated for coastal exposure.
5. Pre-Siding Inspection
Before the wall gets closed in, we do a walk of every opening — this is the point where a problem is cheap to fix and impossible to fix later.
6. Final Walkthrough
Once siding and trim are complete, we check operation, seals, and hardware on every window before we consider the job done.
Working With Your Builder and Framing Crew
New-construction window work is a coordination job as much as an installation job. We're used to fitting into a general contractor's schedule rather than dictating it, but we also won't sign off on an opening that isn't framed to spec, because a window can't fix a framing problem — it can only expose one later. If your builder is coordinating multiple trades on a Marietta build, we're comfortable communicating directly with the GC or framing crew to keep the sequence tight and avoid delays.
Energy Code and Performance Considerations
Washington's energy code sets minimum performance requirements for new construction, including window U-factor and solar heat gain coefficient targets that vary by how the window budget is structured elsewhere in the build. We size and spec windows to meet code for your specific plan rather than defaulting to a generic package, and we can walk you through how your window choices interact with the rest of your home's energy budget if your builder is working toward a specific compliance path.
Beyond code minimums, condensation resistance is worth asking about directly for a site like Marietta — a home this close to the water deals with more ambient humidity than an inland lot, and a window with poor condensation resistance will show it on the glass and frame well before anything else in the house does.
A Pre-Siding Rough Opening Checklist
Whether we're doing your install or you're checking another crew's work before siding goes on, this is what should be true at every opening:
- Sill pan flashing is sloped to drain outward, with no low spots where water can pool
- Flashing at the jambs laps over the sill pan, not under it
- Head flashing laps over the water-resistive barrier above the window
- The window is shimmed plumb, level, and square — not just "close enough"
- Fasteners used are corrosion-resistant and rated for exterior, coastal-adjacent use
- Interior gaps are sealed with low-expansion foam, not overpacked or missing entirely
- No exposed nailing fin or house wrap seams are left uncovered before siding starts
Why a Crew That Already Works Marietta Makes a Difference
New-construction window installation is unforgiving of guesswork, and a crew that hasn't worked this specific stretch of Whatcom County doesn't always know what it's up against until water shows up somewhere it shouldn't be. We've built our flashing and fastener choices around what actually holds up here — the salt air, the wind-driven rain off the bay, and a moss season that keeps everything damp longer than it would in a drier inland neighborhood. We also know the rhythm of coordinating with builders working this area, which keeps your schedule moving instead of waiting on a crew that has to relearn local conditions on your dime.
If you're framing a new home in Marietta or working with a builder who needs a window crew that already knows this stretch of coastline, we'd be glad to walk your plans and give you a straightforward, no-pressure estimate — just fill out the form below.