 Ferndale Siding
 New-Construction Windows Built for Bellingham's Climate
Bellingham sits on Bellingham Bay, and a lot of new construction in and around the city takes advantage of that with larger window packages, taller wall sections, and view-oriented glazing on upper floors. That's great for daylight and views, but it also means more glass area exposed to the same weather that wears on every home in this part of Whatcom County: salt-tinged marine air moving off the water, driving rain that comes in sideways more often than straight down, and a long, damp moss season that settles into shaded roof and wall planes for months at a stretch. More window area is more opportunity for water intrusion if the flashing and drainage details aren't done correctly, which makes new-construction window installation on a Bellingham build a job worth getting right the first time rather than a line item to rush through on the way to siding.
This page covers new-construction window installation specifically for homes being built in and around Bellingham — how it differs from replacing windows in an existing house, what a correct install actually involves while the wall is still open framing, and how our process works when we're brought in during a build. A new build gives an installer the best possible shot at getting ahead of this region's weather, because the framing is exposed and there's no old caulk, failed flashing, or finished siding to work around.
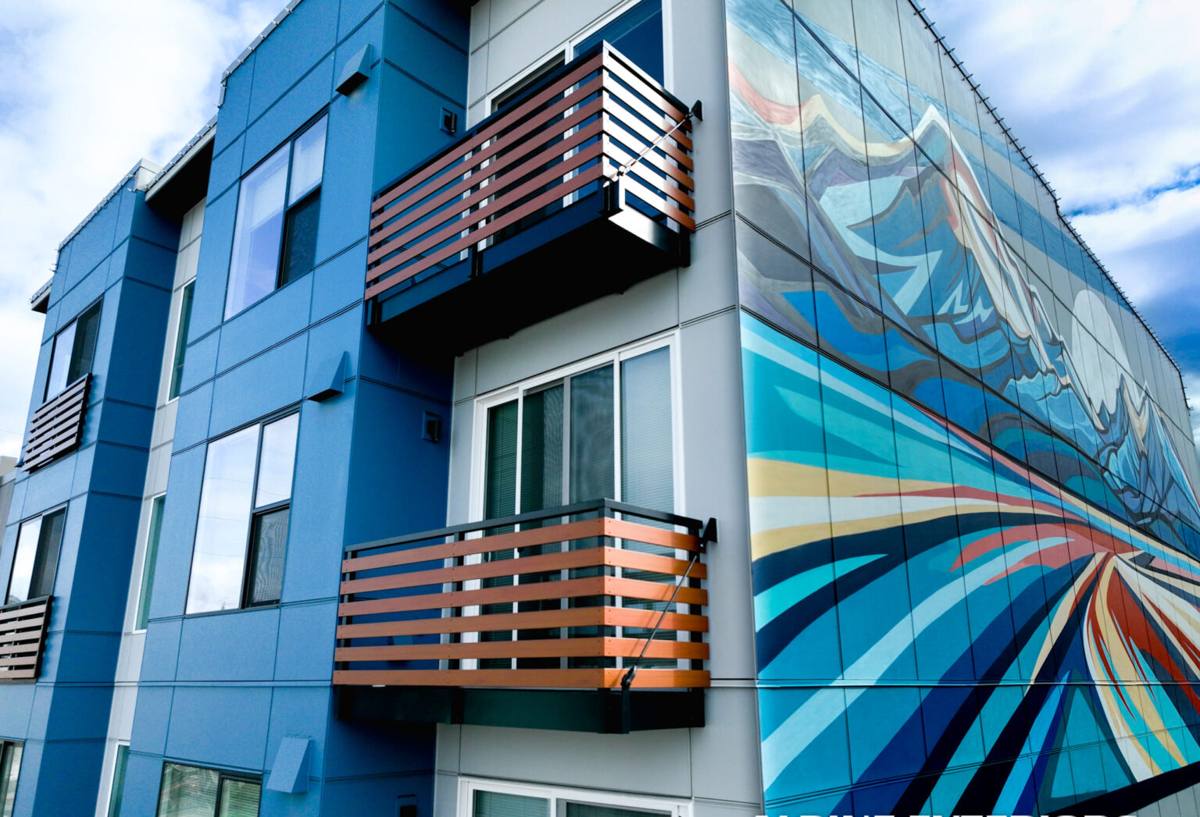
New Construction vs. Replacement: Why the Distinction Matters
New-construction and replacement windows aren't the same product installed the same way, and treating them as interchangeable is one of the more common mistakes we see on builds. A new-construction window has a nailing fin built into the frame that fastens directly to the stud framing before the weather-resistive barrier (WRB) and siding go over it. That fin, combined with a correctly lapped flashing sequence, becomes part of the wall's drainage plane — water that gets past the siding is meant to shed down and out along that plane rather than pool anywhere near the framing. A replacement or insert window is built to drop into an existing, already-finished opening without disturbing the surrounding siding, and it relies on a different sealing approach entirely because the wall around it is already closed up.
On a new Bellingham build, using a proper nail-fin window installed at the correct framing stage means the flashing sequence can be built layer by layer, integrated with the housewrap, instead of caulked on afterward as a patch. That's the single biggest advantage new construction has over a retrofit, and it's worth insisting the crew treat it that way rather than rushing the window step to get to the more visible siding work.
What Bellingham's Climate Demands From a New Window Opening
Salt Air and Hardware Corrosion
Air moving off Bellingham Bay carries enough salt to accelerate corrosion on window hardware, fasteners, and lower-grade flashing metal over time, especially on elevations that face the water or prevailing weather. On a new build, that means specifying corrosion-resistant fasteners and flashing from the start rather than finding out years later that budget hardware has started pitting and sticking on the exposed side of the house.
Driving Rain and Sill Pan Drainage
Rain in this part of the county rarely falls straight down. Wind pushes it sideways and sometimes upward into window openings, which is exactly why the sill pan under every new window needs a real outward pitch and a drainage path, not a flat sill with a bead of caulk holding the line. This detail is dramatically easier to get right while the framing is open than it ever is once a home is finished and occupied.
Moss, Shade, and Slower Drying
Bellingham's terrain includes a fair number of tree-shaded and hillside lots where walls and window sills stay damp longer after a storm than they would on an open, sun-exposed site. That slower drying supports moss and mildew growth and, over years, can lead to slow rot at the sill and lower corners of a window opening if the drainage plane isn't built correctly. Getting the flashing sequence right at the framing stage is the most effective way to keep that moisture out of the wall assembly in the first place, rather than trying to manage it later with sealant and hope.
Wind Exposure on View Lots
Homes built to take advantage of bay or valley views often sit higher up or more exposed than a sheltered in-town lot, which means more direct wind loading on larger window units and taller wall sections. That affects fastening schedules and unit sizing decisions on a build, and it's worth flagging early with your window supplier rather than discovering after installation that a large picture window needs additional reinforcement it wasn't specified with.
What a Correct New-Construction Window Install Involves
A window opening on a new build goes through a specific sequence, and skipping steps or doing them out of order is how problems get built into a house that won't show up until a wet season or two later.
Rough Opening Prep
The rough opening has to be square, plumb, and sized correctly for the specified window unit before anything else happens. An opening that's out of square forces shims and gaps that compromise both operation and seal, and it's a much cheaper fix at framing than after the window is set.
Sill Pan Flashing
A properly formed and pitched sill pan goes in first, sloped to carry any water that gets past the window outward and away from the framing rather than letting it sit flat and pool under the frame.
Setting the Window and Fastening the Nailing Fin
The window is set into the opening, checked for level, plumb, and square, and the nailing fin is fastened to the framing following the manufacturer's specified pattern with corrosion-resistant fasteners suited to this climate.
WRB and Flashing Tape Integration
This is where a correct install separates itself from a shortcut one. Flashing tape and housewrap need to be integrated in the right shingle-lap order — sill first, then jambs, then head flashing lapped over the top — so water reaching the wall behind the siding drains down and out instead of getting trapped behind the window frame.
Head Flashing and Drip Cap
A head flashing or drip cap above the window sheds water outward before it can run down behind the top of the frame, which matters more here than in a drier inland climate given how much of Bellingham's rain arrives wind-driven rather than straight down.
Interior Air Sealing and Insulation
Once the exterior sequence is done, the gap between the window frame and the rough opening gets sealed and insulated from the inside without trapping moisture against the framing, keeping the finished assembly both efficient and dry.
Comparing Frame Materials for a Bellingham New Build
Budget, sun exposure, and how the home's window package is designed all factor into the right frame choice. Here's how the common options actually perform in this climate.
| Frame Material | Moisture & Corrosion Behavior | Typical Maintenance | Realistic Lifespan Here |
|---|---|---|---|
| Vinyl | Won't rot; performs well when the install is correct | Low; occasional track and weep-hole cleaning | 20-30 years |
| Fiberglass | Dimensionally stable; resists moisture and corrosion well, holds up on larger view units | Low | 30-40+ years |
| Wood, clad exterior | Attractive interior finish; clad exterior shields the wood from direct weather | Moderate; interior finish upkeep only if left unclad | 20-30+ years depending on cladding |
| Aluminum | Conducts cold and can corrode over time in salt-influenced air unless well-finished | Moderate | 20-30 years |
We'll walk you or your builder through which frame material fits the home's design, budget, and each elevation's exposure rather than defaulting to whichever product is easiest to sell. A large view-oriented window facing the bay and a smaller window on a shaded, tree-covered side of the same house don't always call for the same answer.
Energy Code and Performance Requirements
New-construction windows in Bellingham have to meet the U-factor and performance requirements in the Washington State Energy Code, and that applies no matter which builder or installer is doing the work. Beyond the minimum code number, it's worth thinking about glazing and low-E coatings suited to each elevation's actual sun exposure rather than a single glass package applied across the whole house — a large south- or west-facing window package near the water can bring in a lot of solar heat gain if the coating isn't matched to it, while a shaded north wall has a different priority entirely. We'll go over the U-factor and NFRC ratings on any window package we install so you know exactly what's being specified, and confirm it meets current code before the openings are closed in behind siding.
How Our Process Works
New-construction window installs happen on a builder's timeline, and coordination matters as much as the install work itself.
- Plan review and takeoff: We review the window schedule and rough opening sizes against the plans before framing is finalized, catching discrepancies early instead of on install day.
- Scheduling with framing and WRB timing: Windows go in at the right point in the sequence — after rough openings are framed, before siding closes the wall in.
- Sill pan, window set, and fin fastening: Every opening gets prepped, the window is set square and plumb, and the fin is fastened per specification.
- Flashing and WRB integration: Sill, jamb, and head flashing are integrated with the housewrap in the correct lapped order at every opening, including the harder-to-reach upper-floor units on taller builds.
- Quality check before siding: We walk every opening before siding crews start, since this is the last point a flashing mistake can be corrected without tearing into finished exterior work.
- Final walkthrough: Once siding and trim are complete, we do a final check of window operation, hardware, and visible seals with you or your builder.
Coordinating With Your Builder, GC, or Design Review
Most new-construction window work we do in the Bellingham area happens as part of a larger build managed by a general contractor, and we're used to working within that structure rather than around it. Some Bellingham neighborhoods and planned developments carry HOA or design-review guidelines that touch on window style, trim profile, or exterior appearance, so it's worth confirming those requirements early with your builder rather than finding out about a restriction after units have already been ordered. We show up on the schedule the GC sets, communicate directly with framing and siding crews about sequencing, and flag any rough opening or flashing issue immediately rather than letting it turn into a change order surprise later in the build. If you're managing your own build without a GC coordinating every trade, we're glad to walk you through what needs to happen and when so nothing gets rushed or skipped.
A Practical Checklist for New-Construction Window Openings
- Are rough openings framed square, plumb, and to the correct dimension for the specified window units?
- Is the sill pan pitched to drain outward, not left flat?
- Is the nailing fin fastened per manufacturer specification with corrosion-resistant fasteners?
- Is flashing tape integrated with the WRB in the correct shingle-lap order at sill, jambs, and head?
- Is head flashing or a drip cap installed above each opening?
- Are larger view-oriented units specified with fastening and reinforcement adequate for their size and exposure?
- Do the specified windows meet current Washington State Energy Code U-factor requirements?
- Has every opening been checked and signed off before siding crews close the wall in?
Why Hiring a Crew That Already Works Bellingham Builds Matters
A crew that regularly installs windows on new construction in and around Bellingham has already seen how bay-adjacent salt air corrodes underspecified hardware, how wind-driven rain finds its way through a poorly lapped sill pan, and which shaded or hillside lots hold moisture longer after a storm than an open, sun-exposed one. That's practical knowledge that shows up in small decisions throughout an install — decisions a crew unfamiliar with this specific stretch of Whatcom County might not think to make at all. It also means working with someone who knows how to fit into a builder's schedule without becoming the trade that holds up the rest of the job, who can speak to HOA or design-review expectations if your development has them, and who's still reachable years later if a warranty question comes up.
If you're building a new home in Bellingham and want a window installer who will get the flashing and framing details right the first time, we're glad to review your plans and walk through the process with you or your builder. Use the form below to request a free, no-pressure estimate.