 Ferndale Siding
 Roofing on an Island Job Site: What Makes Lummi Island Different
Lummi Island isn't just another stop on a service route. It's a shoreline community surrounded by water on every side, reached by ferry, with homes that sit directly in the path of whatever weather comes off the Strait. A new roof installation out here has to account for things a typical inland Whatcom County job doesn't: salt-laden air working on fasteners and flashing year-round, wind-driven rain that finds every weak seam, and a moss season that runs longer than most homeowners realize. We install new roofs on Lummi Island regularly, and the specs we build to reflect that exposure — not a generic checklist pulled from a mainland job.
This page covers exactly one service in exactly one area: full new roof installation for homes on Lummi Island. If you're comparing materials, trying to understand what a correct tear-off and install actually involves, or just want to know why local experience matters here, this is written for you.
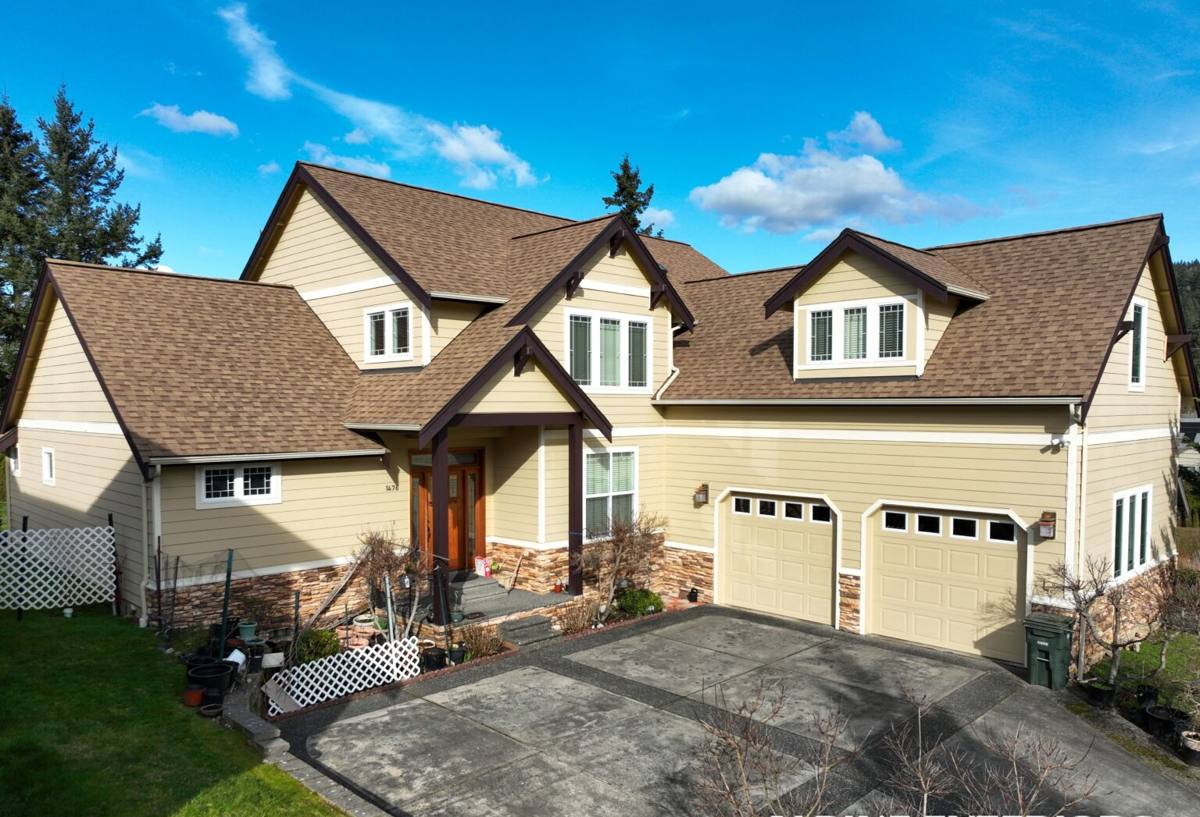
What Salt Air, Wind-Driven Rain, and Moss Actually Do to a Roof
Three environmental factors drive almost every roofing decision we make on the island.
Salt Air
Airborne salt accelerates corrosion on anything metal — nails, staples, flashing, drip edge, gutter hangers, even the fastener heads on architectural shingles. A roof built with standard-grade fasteners will show rust streaks and early flashing failure years before an identical roof built a few miles inland. On Lummi Island, fastener and flashing material choice isn't a cost-saving detail to skip past — it's one of the first things we spec differently.
Driving Rain and Wind
Homes exposed to open water take rain sideways, not just straight down. That means water gets pushed up under shingle tabs, into valleys, and around penetrations that would stay dry in a calmer setting. It also means wind uplift is a real design consideration, not a footnote — fastening patterns and edge details matter more here than on a sheltered inland roof.
A Long Moss Season
Western Whatcom County's wet, mild climate already favors moss, and Lummi Island's tree cover and marine humidity stretch the growing window even further. Moss holds moisture against the roof surface, works into shingle granules and seams, and can lift edges enough to let water in behind the shingle line. Left alone, it shortens the life of an otherwise sound roof considerably.
Choosing the Right Roofing System for This Exposure
There's no single "best" roofing material for every Lummi Island home — it depends on the home's exposure, roof pitch, budget, and how the owner wants it to look. What matters is picking a system that's honestly suited to salt air, wind, and moss, and installing it correctly. Here's how the common options stack up for this specific environment.
| Material | Typical Lifespan | Salt Air / Corrosion Behavior | Moss Resistance | Relative Cost |
|---|---|---|---|---|
| Standard architectural asphalt shingle | 20-25 years | Fine with corrosion-rated fasteners and flashing | Moderate; benefits from algae-resistant (AR) granules | $ |
| Algae-resistant (AR) architectural shingle | 25-30 years | Fine with corrosion-rated fasteners and flashing | Better; copper or zinc granules slow moss/algae growth | $$ |
| Standing seam metal roofing | 40-50+ years | Excellent when specified with marine-grade coatings and fasteners | Very good; smooth, steep-shed surface discourages moss | $$$ |
| Synthetic/composite shingle | 30-40 years | Good; low-metal-content options reduce corrosion points | Good, varies by product | $$-$$$ |
For most island homes, we're weighing asphalt (AR-rated) against standing seam metal. Asphalt with algae-resistant granules and correctly detailed flashing performs well and keeps the project affordable. Standing seam costs more up front but shrugs off wind, sheds moss naturally because of its smooth vertical profile, and holds up to salt air better than almost anything else on the market when the coating and fastener spec are right. We'll walk you through the honest trade-offs for your specific roof rather than pushing one system on every house.
What a Correct New Roof Installation Includes
A new roof is more than shingles nailed to plywood. On an exposure like this, the details underneath and around the field of the roof are what determine whether it holds up.
- Full tear-off — we don't install over existing layers; it hides deck damage and voids most manufacturer warranties.
- Deck inspection and repair — soft, rotted, or delaminated sheathing gets replaced before anything new goes down.
- Ice and water shield at eaves, valleys, and around every penetration — this is the layer that actually stops wind-driven rain that gets past the shingle line.
- Synthetic underlayment across the full deck for a secondary water barrier and better wind resistance during construction.
- Corrosion-rated flashing and fasteners — stainless steel or hot-dip galvanized, not standard mill-finish, given the salt air.
- Proper valley, chimney, and skylight flashing — the majority of roof leaks start at these transitions, not in the open field.
- Drip edge and starter course installed correctly at all eaves and rakes, not skipped to save a step.
- Balanced attic ventilation — intake at the soffit, exhaust at the ridge, sized to the attic's actual square footage.
- Ridge cap and final inspection, including a walk-through so you know exactly what was done and why.
Our Process, Step by Step
We keep the process the same whether the job is on the island or the mainland — what changes is the logistics planning underneath it.
- On-site inspection. We get on the roof, check the deck from the attic side where possible, and look at flashing, ventilation, and any signs of moss-related damage before quoting anything.
- Written estimate. You get a clear scope, material options with honest trade-offs, and a firm price — not a range that grows once the tear-off starts.
- Material and logistics planning. Because everything reaching Lummi Island crosses on a ferry, we plan delivery and staging in advance so the crew isn't waiting on materials mid-job.
- Tear-off and deck inspection. Old roofing comes off, the deck gets inspected board by board, and any repairs are handled before underlayment goes down.
- Underlayment, flashing, and field installation. Ice and water shield, synthetic underlayment, flashing details, then the roofing material itself, installed to manufacturer spec.
- Ventilation check. We confirm intake and exhaust airflow is balanced for the attic, adjusting vents as needed.
- Cleanup and walk-through. Magnetic sweep for stray fasteners, full site cleanup, and a walk-through covering what was installed and how to maintain it.
Ventilation and Moss Prevention Built In, Not Bolted On
A lot of moss and premature aging problems actually start in the attic, not on the roof surface. Warm, moist attic air escaping through an under-ventilated roof deck keeps the underside of the sheathing damp, which encourages moss and algae to take hold on the surface above it faster than exposure alone would. When we install a new roof, we check and correct attic ventilation as part of the job — not as an upsell — because a well-ventilated roof genuinely sheds moss and lasts longer, especially under Whatcom County's long wet season. It's a lower-cost, higher-impact fix than most homeowners expect, and it's part of doing the installation correctly the first time.
Permits, Timing, and Working Around Ferry Logistics
New roof installations typically require a building permit through Whatcom County, and we handle that process as part of the job. Timing on Lummi Island is a bit different than a mainland project: material deliveries, dumpster drop-off and pickup, and crew scheduling all have to work around ferry sailings and capacity, especially during busier travel seasons. A crew unfamiliar with the island can lose real time — and add real cost — just figuring this out for the first time. We build ferry logistics into the schedule up front, so the timeline we give you is the timeline we hit.
Signs Your Lummi Island Roof Needs Replacing
Not every roofing problem calls for full replacement, but these are the signs worth having a professional look at sooner rather than later, especially on an island where a small leak can go unnoticed longer between visits:
- Heavy moss growth across large sections of the roof, not just isolated shaded spots
- Granule loss showing up in gutters or at the base of downspouts
- Curling, cupping, or cracked shingles, particularly on slopes facing prevailing wind and rain
- Rusted or deteriorating flashing around chimneys, skylights, or valleys
- Daylight visible through the roof deck from inside the attic
- Water stains on ceilings or in the attic after wind-driven rain events
- A roof approaching or past 20-25 years old (asphalt) with no major work done
- Sagging areas in the roofline, which can indicate deck or structural issues underneath
Why a Crew That Already Works Lummi Island Matters
Anyone can quote a roof from a photo or a quick drive-by. Getting it right on Lummi Island means understanding how salt air treats fasteners over years, not months; how wind off the water actually moves rain up under shingle edges; and how a long moss season changes what "correctly ventilated" needs to mean for a given attic. It also means not treating ferry scheduling as a surprise that blows up the timeline halfway through the job. We work this island regularly, which means fewer unknowns, fewer change orders, and a roof that's actually built for where it sits — not a mainland spec dropped onto an island house.
If you're planning a new roof on Lummi Island, we're glad to come take a look, walk the attic and roofline with you, and put together a straightforward, no-pressure estimate. There's a form below — reach out and we'll get a time on the calendar.